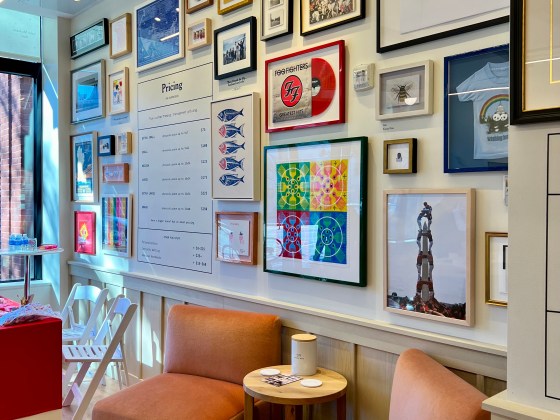
One of my favorite ways to add color and life to a space is with a floral arrangement. As someone who adores plants, the sight of fresh flowers in my home makes me happy and brings a touch of softness to my apartment. Last fall, I decided to take a floral arranging class at She Loves Me DC, and it was 100% worth it. Learning the basics was fun, but it was the moments of instinct and creativity that truly made the arrangement special. All you need are a few items, a bit of preparation, and boom- you have a show stopping arrangement for a low cost. To me, these arrangements embody my design philosophy – elevating spaces with simple, impactful touches. Below, I’ll share with you my step-by-step guide to crafting your own beautiful floral arrangements.
Step 1 Plan out the Design: Before heading to the store, I like to consider the vase I’ll use, where I’ll place the flowers, and my preferred color scheme. What mood do I want the florals to evoke? I knew I wanted something vibrant with some red and pink hues. Trader Joe’s is one of my favorite stores to shop since they have a great variety of florals. While I keep my theme in mind, I also remain flexible based on the available options at the store.
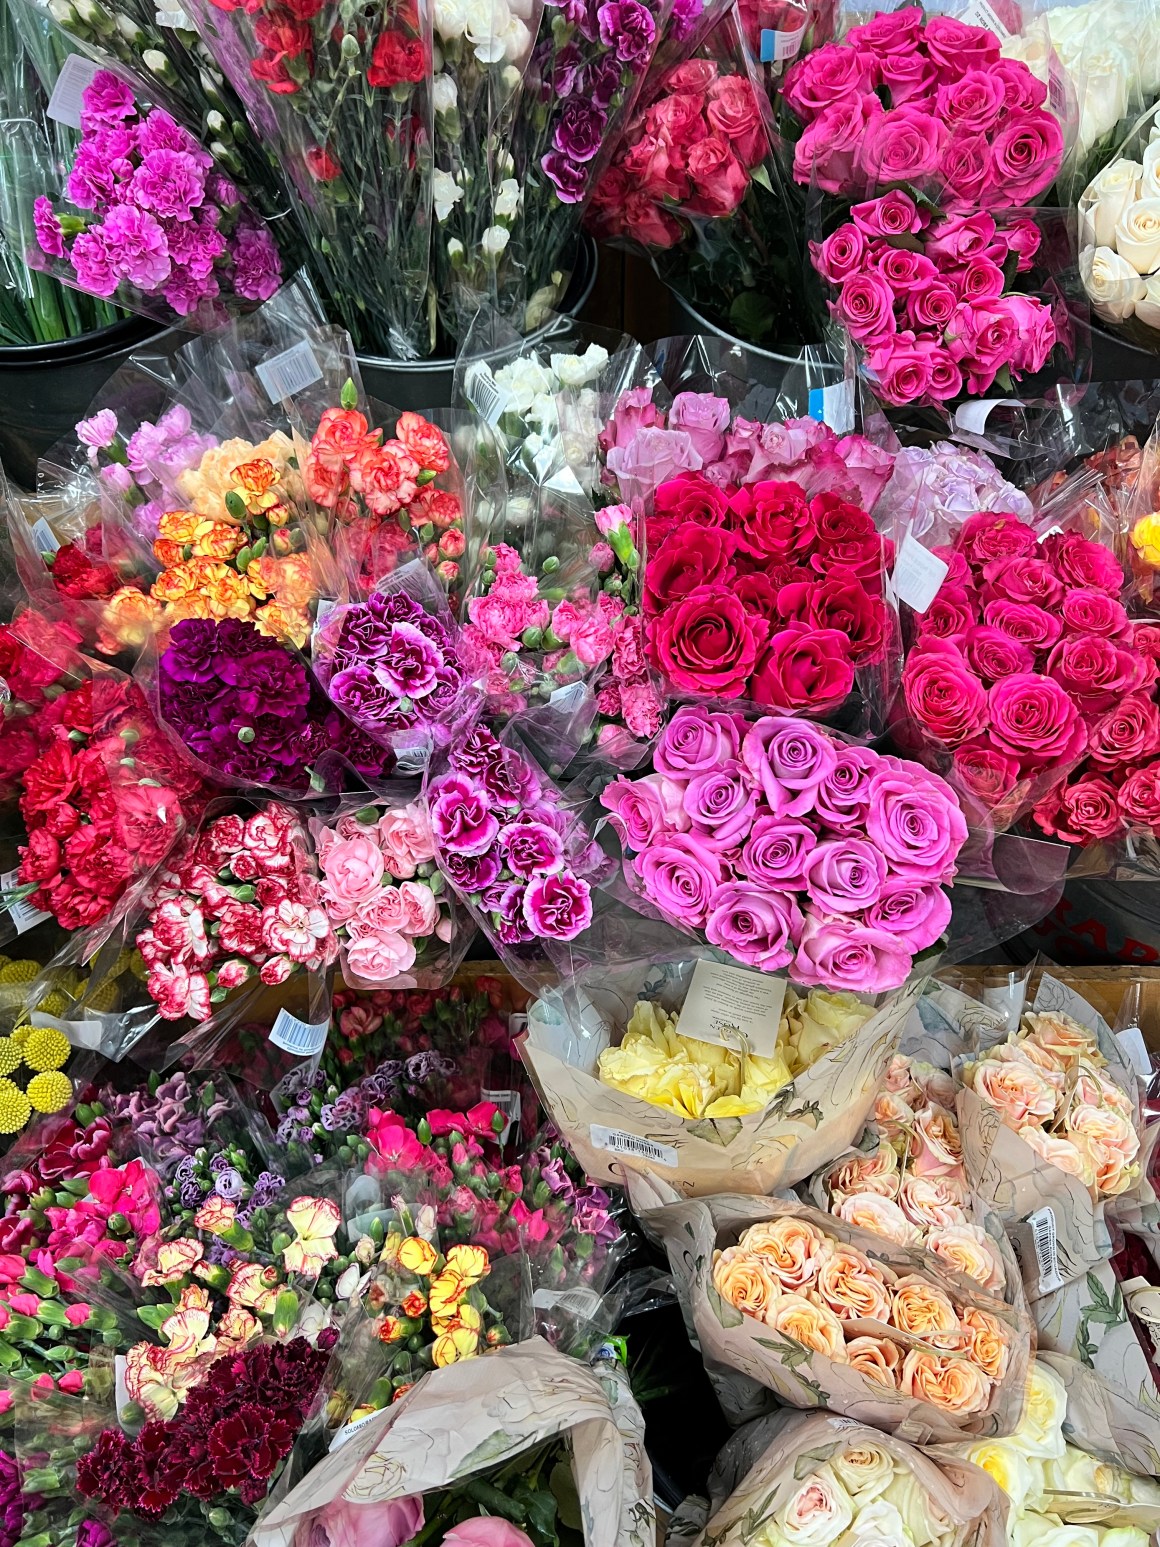
Step 2 Prep Your Flowers: Once back home, I lay out all my flowers on my workspace to begin preparing them. I trim the excess leaves off the stems for a cleaner look and remove any damaged petals. Since my floral vase is 8 inches, I aim for the highest flower to be around 16 inches. To determine the ideal height, I test one stem and cut it at a diagonal angle. Remember measure twice and cut once (a philosophy for life too). Try not to cut all stems at the same length; instead, use a range. You can always go back and trim more if needed. Ensure that no leaves are below the water level, as this can lead to bacteria and cause the flowers to wilt more quickly.
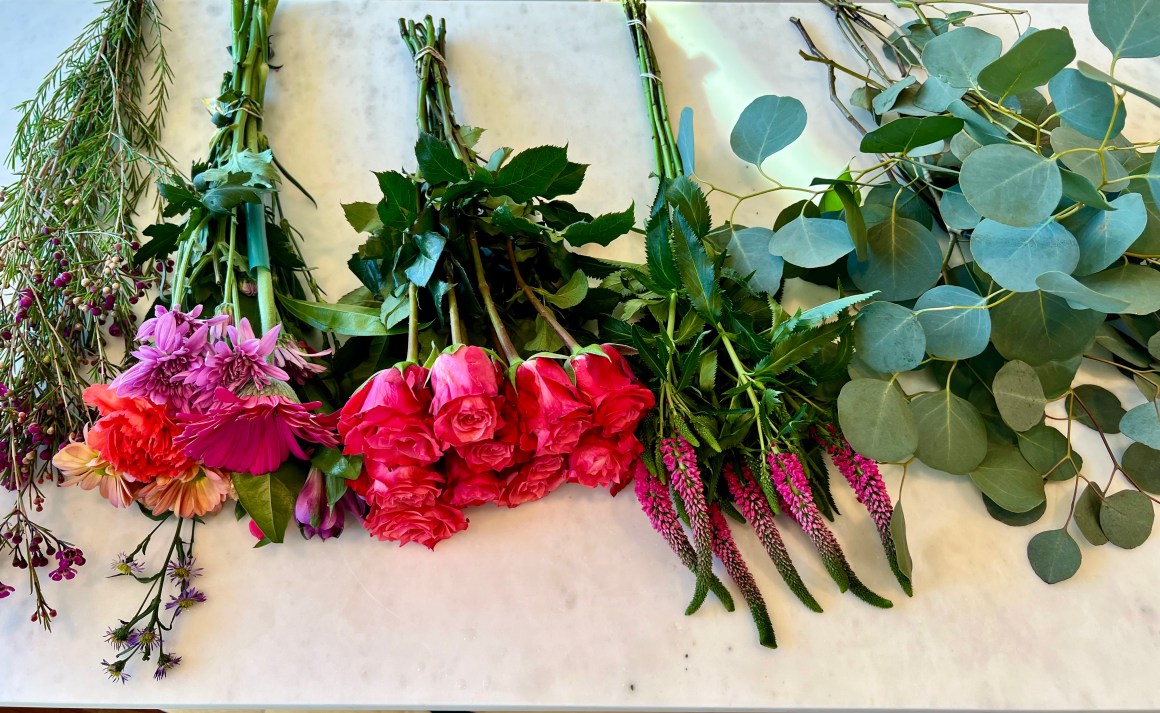
Step 3: Arranging the Greenery: I start by arranging the greenery first. Eucalyptus is my standard go to choice because of it’s amazing scent and the appealing shape of it’s leaves. Visualize creating an inverted triangle or V-like shape as you place the greenery. This technique helps add height to the outer corners of your arrangement while allowing the primary flowers to be the focal point in the middle, creating a fuller effect. Although placing the greenery may feel awkward at first, just go with it and take your time. Feel free to add any additional greenery as desired.
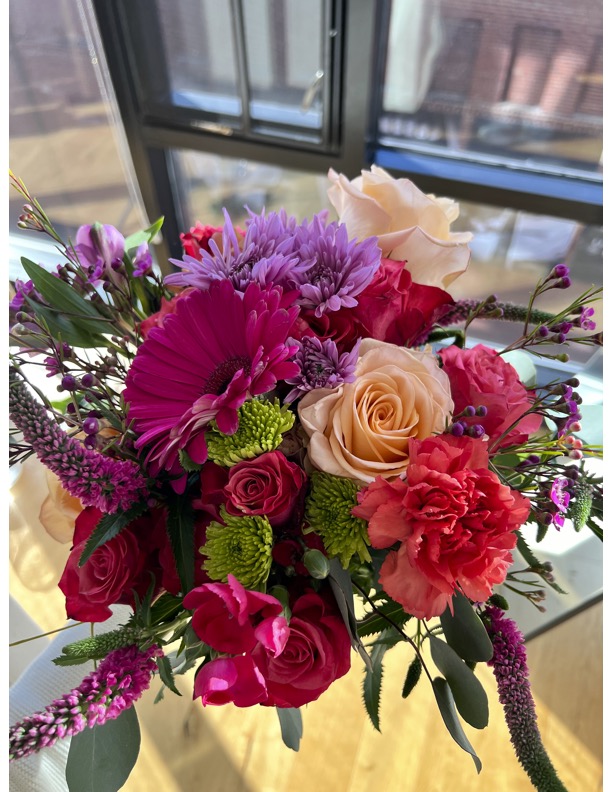
Step 4: Add the blooms: Next, I begin adding my pink roses, ensuring to avoid placing identical flowers directly next to each other. Then I incorporate other flowers such as carnations and sunflowers. Visualize filling in the empty portion of the inverted V we created in step 3. As a finishing touch, I add my show stopper; a yellow rose, which was a leftover from a different bouquet. I like the contrast it adds to the predominantly pink and red palette. Below is the final result! 🙂